
Border moulding
Product choice for border moulding for the edentulous patient.
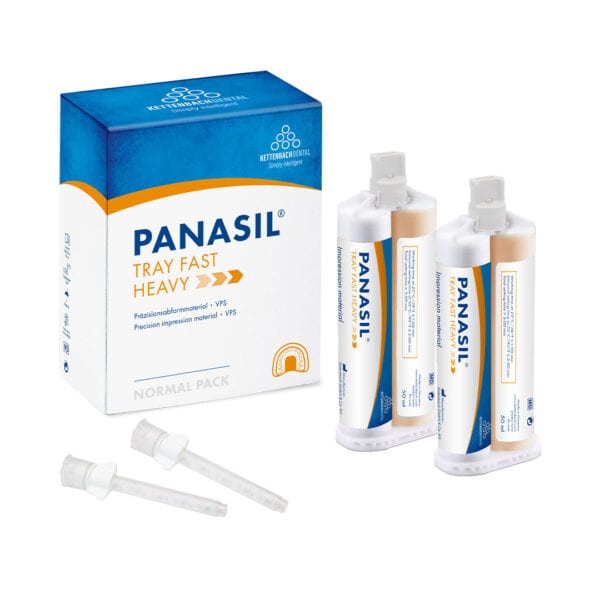
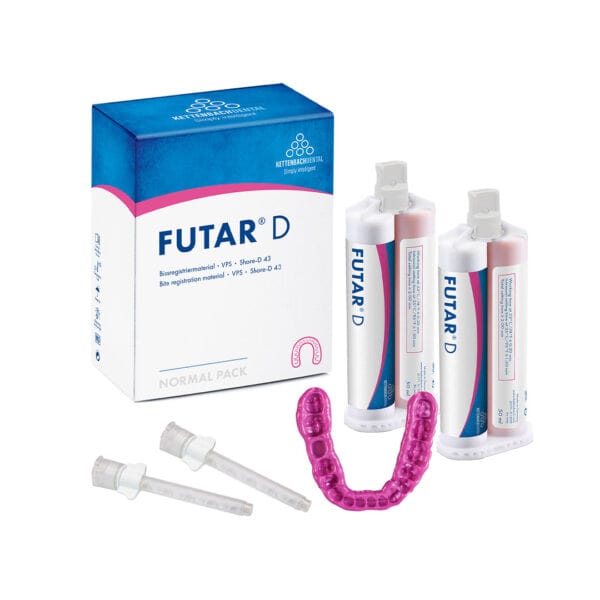
Futar® D Slow & Panasil® Tray Fast Heavy are highly suitable for functional border moulding.
For optimal adhesion, always apply Panasil® Adhesive (REF 14101) first.
Both materials can be milled excellently!

Frequently asked questions
Impression material should be stored in a dry place at room temperature. Direct sunlight and extreme temperature changes must be avoided. If storage temperature is clearly below/above room temperature, bring the impression material to room temperature before use. If the impression material is too cold during impression taking, the setting times will be longer than stated, and if you are working in a (too) warm room, the processing and setting times will be much faster than normal.
Longer or shorter setting times (than indicated):
- The material could be too warm or too cold. Always bring the impression material to room temperature first: working and setting times are affected by higher or lower temperatures.
- With a hand-mixed A-silicone putty, it is important that the ratio of catalyst to base material is 50/50%; otherwise, setting times may be affected.
No / delayed setting:
- Do not use latex gloves.
- Discard a little material at first (jumbo cartridge) / before each (50 ml cartridge) use.
- Do not mix different types of material. Use dedicated accessories (e.g. application syringes) for each type of material (e.g. polyether vs. A-silicone), do not use accessories “contaminated” with other types of materials
- Retraction agents containing ferric sulfate, epinephrine or aluminium chloride may have a negative effect on the setting. When using such materials, rinse area thoroughly.
No adhesive bonding:
- The adhesive must be dry before the tray is filled with impression material.
- To allow the tray adhesive to work effectively, ensure that there is no inhibition layer on the surface of custom trays. If necessary, remove the smear layer with alcohol or mechanically.
General tips:
- Leave the mixer in the material when dispensing to avoid air bubbles.
- To ensure best results, always use original mixing tips.
- Always follow manufacturer guidances.
Reasons for delayed / no setting and setting times longer or shorter than indicated include:
- The material could be too warm or too cold. Always bring the impression material to room temperature first: working and setting times are affected by higher or lower temperatures.
- With a hand-mixed A-silicone putty, it is important that the ratio of catalyst to base material is 50/50%; otherwise, setting times may be affected.
- Do not use latex gloves.
- Discard a little material at first (jumbo cartridge) / before each (50 ml cartridge) use.
- Do not mix different types of material. Use dedicated accessories (e.g. application syringes) for each type of material (e.g. polyether vs. A-silicone), do not use accessories “contaminated” with other types of materials
- Retraction agents containing ferric sulfate, epinephrine or aluminium chloride may have a negative effect on the setting. When using such materials, rinse area thoroughly.
Yes, absolutely. A mixing tips’s diameter and length must be matched to the material. Some mixers available on the market appear to be suitable, but do not mix homogeneously. To ensure best results, always use original Kettenbach Dental mixing tips. Compatible accessories are always displayed on the product sites.
Do not use latex gloves. Latex has a negative effect on the curing of A-silicones and Identium® and can cause poor-quality impressions.
We recommend using a custom tray when taking impressions with impression posts and for fixation impressions. Prefabricated trays can also be customized by damming around the palate area or on the end of the tray for a greater build-up of pressure. The distance between tray wall and tooth equator should be at least 3 times greater than the depth of the undercut.
A good individual tray requires a preliminary impression. If trays are printed, it is preferable to make the preliminary impression with a scan-optimised impression material.
Any inhibition layer on the plastic individual tray can interfere with the setting of the impression material and must be thoroughly removed before use.
Every impression material shrinks (minimally) and in order to make this shrinkage predictable and controllable, it is important to be able to create an even impression material thickness between the elements and the inside of the impression tray. Because adhesion occurs between the tray and the impression material, this material shrinkage always occurs towards the tray wall. The more shrinkage the impression material has, the greater the cement thickness will be when placing the crown and bridge work. It is important that the tray is not too tight; in addition to blocking out undercuts, sufficient impression space (at least 4 to 5 mm) must also be left.
We generally recommend the use of impression trays that allow sufficient pressure to build up, especially with medium (Type 2) and heavy body (Type 1) impression materials. Closed trays as well as custom trays are suitable; perforated trays are not recommended. When selecting a ready-made tray, it is important to choose a well-fitting, rigid tray. Stock trays can be customized for higher pressure build-up by blocking out the palatal area or the posterior end of the tray.
When selecting the tray size, always ensure that the distance from the tray wall to the tooth equator is at least three times the depth of the undercut. It is of course also important to use a tray that fits as well as possible, which provides adequate but not excessive space and thus permits optimal pressure build-up.
Before taking an impression, any bleeding must be brought under control. Retraction cords and liquids containing ferric sulfate, epinephrine or aluminium chloride can lead to setting inhibition. Therefore, after using such materials, the contaminated areas must be thoroughly rinsed. Remove retraction cord or paste and any cotton rolls from the patient’s mouth just before inserting the tray into the patient’s mouth.
- Select appropriate impression tray, ensure proper size and fit.
- Apply Kettenbach Dental Universal Adhesive 5 min before taking the impression.
- Prepare the oral situation: Block out large undercut areas, expand the sulcus and control bleeding. For subgingival preparation margins, use retraction cords. If applicable, clean the prepared stumps.
- Prepare impression material and accessories: Bring material to room temperature. Depending on type of cartridge, discard some material. Mix the material homogeneously and fill the tray completely and continuously without interruption. Leave the mixing tip in the material when filling the tray to avoid bubbles. For hand-mixed putties, maintain a 1:1 ratio of catalyst to base material. Do not use latex gloves or polyether “contaminated” accessories. If applicable, thoroughly remove any inhibition layer on the surface of custom trays.
- Insert the filled impression tray into the patient’s mouth as vertically as possible to the occlusal plane. Set a timer according to the indicated setting time. Hold the tray in position, do not fully depress. Do not hand the impression tray over to others.
- After the material has completely set, remove the impression tray as vertically as possible to the occlusal plane with a slight rotational movement.
- Rinse, dry and disinfect the impression.
General guidance: Always follow manufacturer instructions and observe working and setting times. To ensure best results, use original mixing tips.
For more tips, consult our product-specific FAQs and troubleshooting guide.
Visalys® CemCore from Kettenbach Dental is a dual-curing luting composite designed for safe and predictable cementation of all indirect restorations. This 2-in-1 product can also be used for fabricating core build-ups and build-up fillings. The unique, patented Active-Connect Technology eliminates typical conflicts and enables optimal mixing of the somewhat hydrophobic composite Visalys® CemCore with the hydrophilic Visalys® Tooth Primer on the damp tooth surface, resulting in a permanently high adhesive bond. Visalys® CemCore features excellent flow properties, is radiopaque, bisphenol-A-free, and ready to use.
The correct procedure for taking an alginate impression for an individual edentulous tray.
Determine the tray size based on the old denture. If in doubt, choose one tray size larger for the upper jaw and one tray size smaller for the lower jaw. For a large jaw, it is best to use a tray for a dentate jaw and apply yellow beeswax to the trigonea. Coat the trays with the appropriate adhesive and make the alginate stiff. If using Silginat® (an A-silicone) for the impression, first coat the trays with Panasil® adhesive.