Identium
Comfortable and precise – IDENTIUM®
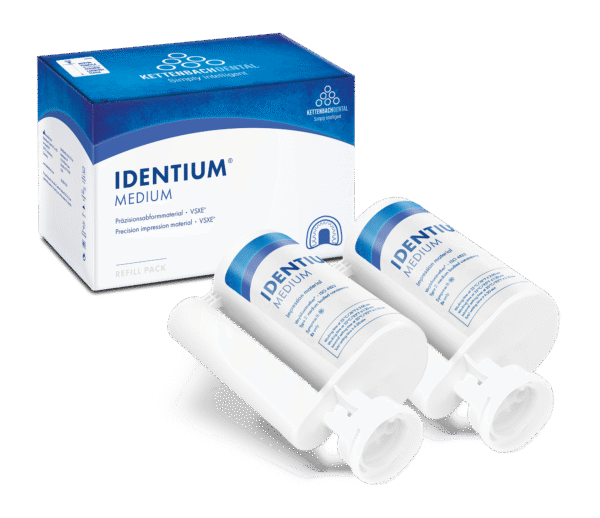
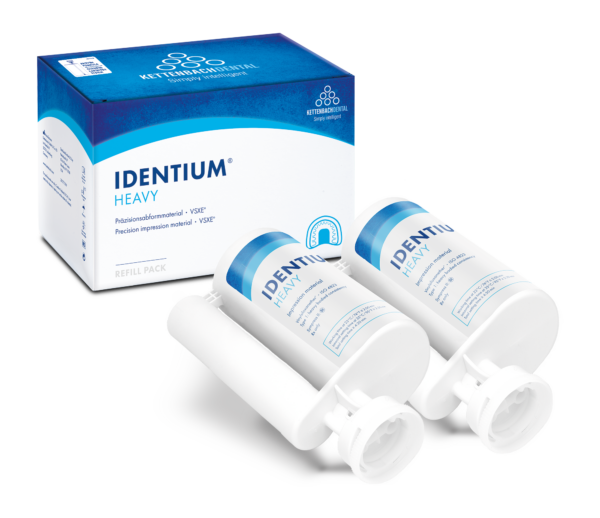
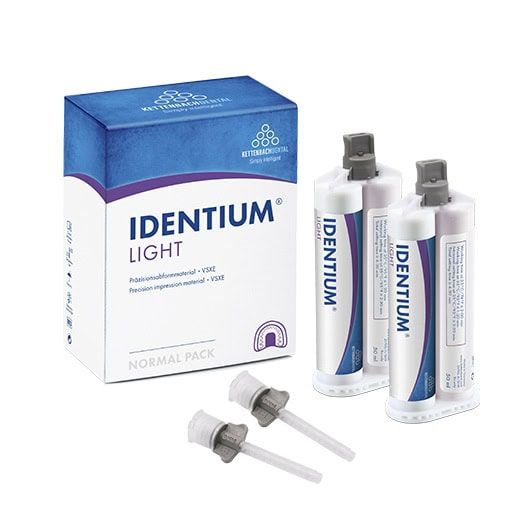
With IDENTIUM®, you provide a faster, more comfortable experience. For you as clinician, it’s about confidence and clinical excellence: you get a high-detail result with easy removal and zero guesswork. By getting it right the first time – even in complex implant cases, you save time and elevate the quality of your practice. It’s the professional choice for practitioners who refuse to compromise on precision. Available in HEAVY, MEDIUM, and LIGHT viscosities, IDENTIUM® offers the perfect flow for every impression – from single crowns to complex implant cases.
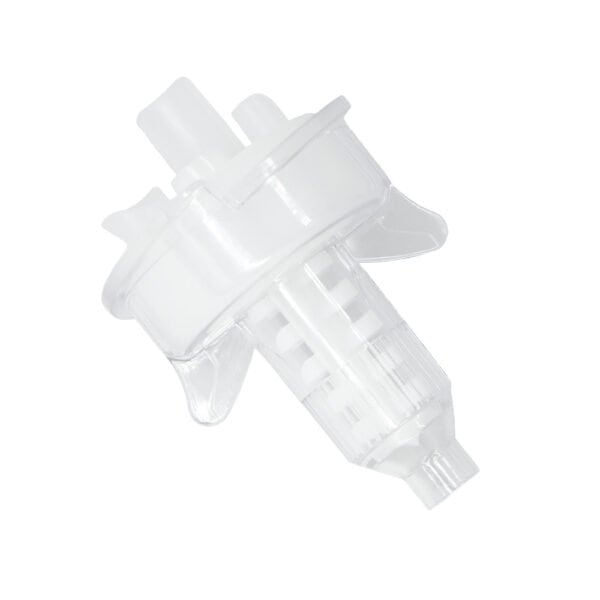
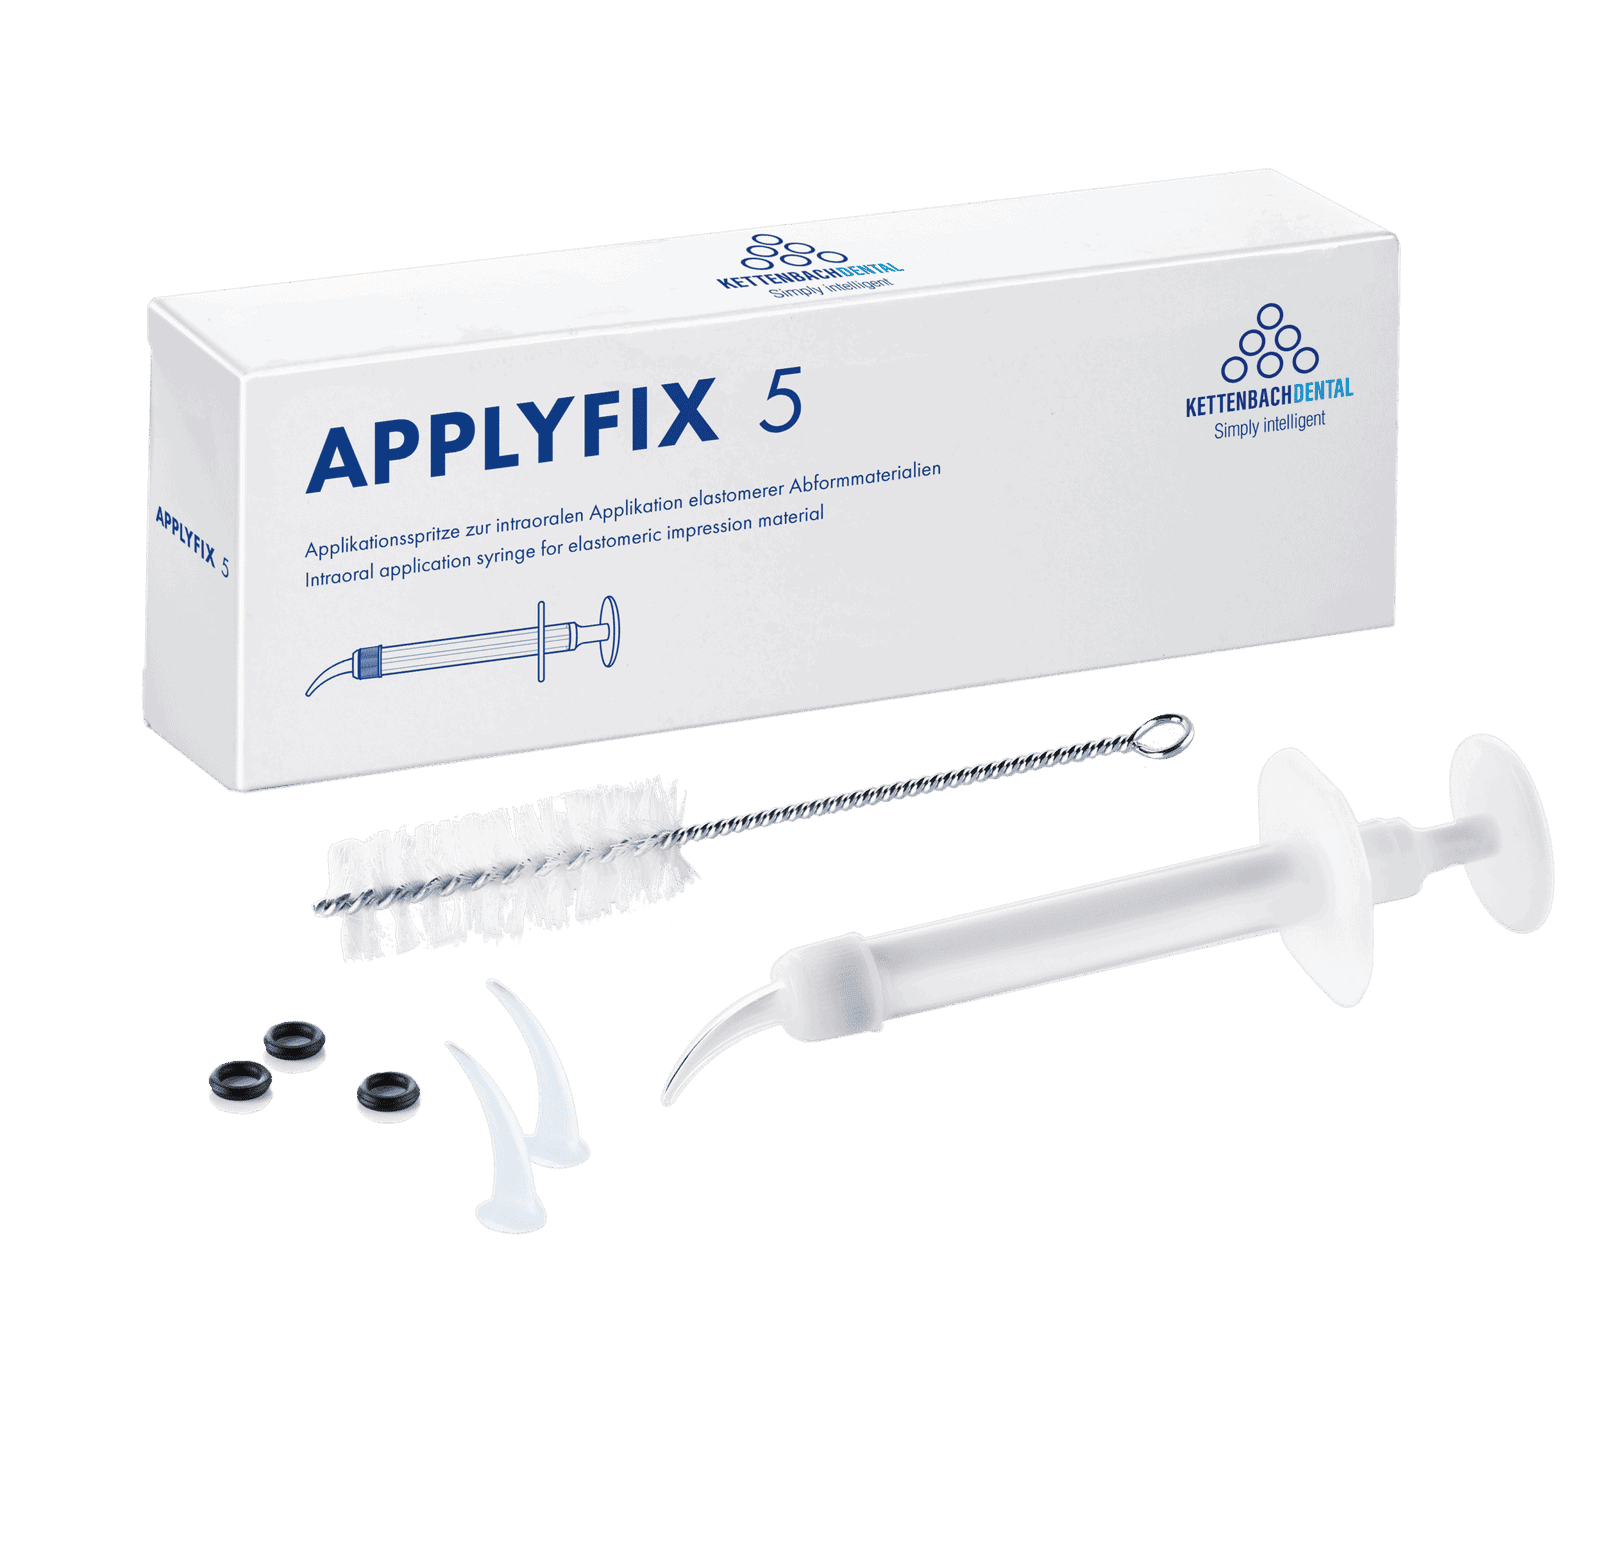
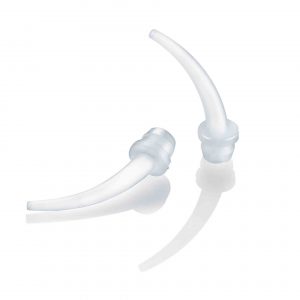
Yes. However, the syringe must be free of any residues from other materials. We recommend using a dedicated application syringe for each material type. Filling with mixed material from the jumbo cartridge or the 50 ml cartridge should be done continuously without interruption. Before use, the syringe tip must be completely filled by applying pressure to the plunger.
No. Due to its special chemistry, when two viscosities are used together – as in the double-mix impression technique – only materials from the Identium® range should be used.
Chemically, the Identium® materials are a mixture of vinyl polysiloxane, also known as A-silicones and polyether materials. Each material group has different advantages. Identium® combines the benefits of both groups in a single material.
Apply adhesive onto the dry impression tray and allow it to dry for approx. 5 minutes. The adhesive must be dry before the tray is filled with impression material.
To allow the tray adhesive to work effectively, ensure that there is no inhibition layer on the surface of custom trays. If necessary, remove the smear layer with alcohol or mechanically.
Rinse, dry and disinfect the impression. We recommend using disinfectant solutions specially designed for impression materials (2% acidic glutaraldehyde solution). See manufacturer instructions.
After the material has completely set, remove the impression in the same direction as the tooth axis. Tilting the tray too much can cause permanent deformation. Strong rocking movements increase the risk of elastic deformation. It is recommended to place the index fingers into the vestibule and remove the impression tray as vertically as possible to the occlusal plane with a slight rotational movement.
The filled tray should be lowered as vertically as possible to the occlusal plane (material surface and occlusal plane should be parallel to each other), with the pressure being increased slowly. Hold in position. Do not fully depress the tray. Do not hand the impression tray over to others.
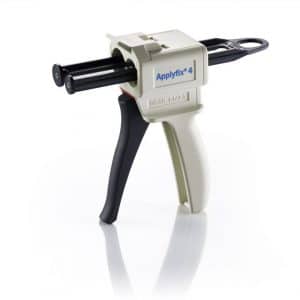
With the jumbo cartridge, discard at least the first 3 cm of mixed material. For subsequent mixings, no further material needs to be discarded (unless the plunger is restarted or the cartridge used in another mixing unit).
With the 50 ml cartridge, dispense a small amount of material at each use until equal amounts of both materials are extruded at the same rate.
To avoid air entrapment, the outlet opening of the dynamic or static mixer should always remain immersed in the material. The tray should always be completely filled. If the clinical situation allows, the palatal vault in the maxilla should also be covered with impression material.
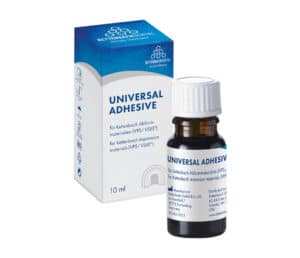
Apply adhesive onto the dry impression tray and allow it to dry for approx. 5 minutes. The adhesive must be dry before the tray is filled with impression material. We recommend using our Universal Adhesive, suitable for all Kettenbach Dental impression materials. The surface of the impression tray must be repeatedly and fully brushed so that the entire surface of the tray is visibly covered. Load the tray within 30 minutes of applying the adhesive.
There are plenty of impression materials available that can be used to achieve the desired transfer of the oral situation to the working model. The best choice is to use an impression technique, with the corresponding consistency(ies), that suits the practitioner and the requirements of the dental laboratory. The success of the final piece of work is partly determined by the ease of use, the material properties and knowledge of the impression material.
Identium® is a highly accurate impression material with excellent pressure build-up, high tensile strength and tear resistance, easier to remove from the mouth and a more pleasant taste. Thanks to its unique composition, Identium® has the best properties of both polyether and addition silicones; the best of both worlds. Thanks to their high final hardness (immediately after removal from the mouth), Identium® Medium and Heavy (including the fast variants) are highly suitable as impression materials for all your implant work. If an impression combination with Identium® light is made, it is important that the transfer pins are sufficiently enclosed by the stronger Identium® Medium or Heavy impression material.
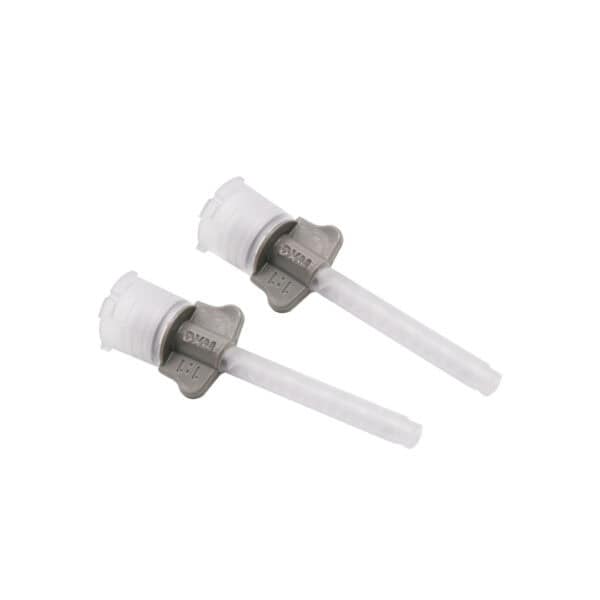
Yes, absolutely. A mixing tips’s diameter and length must be matched to the material. Some mixers available on the market appear to be suitable, but do not mix homogeneously. To ensure best results, always use original Kettenbach Dental mixing tips. Compatible accessories are always displayed on the product sites.
Do not use latex gloves. Latex has a negative effect on the curing of A-silicones and Identium® and can cause poor-quality impressions.
We generally recommend the use of impression trays that allow sufficient pressure to build up, especially with medium (Type 2) and heavy body (Type 1) impression materials. Closed trays as well as custom trays are suitable; perforated trays are not recommended. When selecting a ready-made tray, it is important to choose a well-fitting, rigid tray. Stock trays can be customized for higher pressure build-up by blocking out the palatal area or the posterior end of the tray.
When selecting the tray size, always ensure that the distance from the tray wall to the tooth equator is at least three times the depth of the undercut. It is of course also important to use a tray that fits as well as possible, which provides adequate but not excessive space and thus permits optimal pressure build-up.
We recommend using a custom tray when taking impressions with impression posts and for fixation impressions. Prefabricated trays can also be customized by damming around the palate area or on the end of the tray for a greater build-up of pressure. The distance between tray wall and tooth equator should be at least 3 times greater than the depth of the undercut.
A good individual tray requires a preliminary impression. If trays are printed, it is preferable to make the preliminary impression with a scan-optimised impression material.
Any inhibition layer on the plastic individual tray can interfere with the setting of the impression material and must be thoroughly removed before use.
Every impression material shrinks (minimally) and in order to make this shrinkage predictable and controllable, it is important to be able to create an even impression material thickness between the elements and the inside of the impression tray. Because adhesion occurs between the tray and the impression material, this material shrinkage always occurs towards the tray wall. The more shrinkage the impression material has, the greater the cement thickness will be when placing the crown and bridge work. It is important that the tray is not too tight; in addition to blocking out undercuts, sufficient impression space (at least 4 to 5 mm) must also be left.
- Select appropriate impression tray, ensure proper size and fit.
- Apply Kettenbach Dental Universal Adhesive 5 min before taking the impression.
- Prepare the oral situation: Block out large undercut areas, expand the sulcus and control bleeding. For subgingival preparation margins, use retraction cords. If applicable, clean the prepared stumps.
- Prepare impression material and accessories: Bring material to room temperature. Depending on type of cartridge, discard some material. Mix the material homogeneously and fill the tray completely and continuously without interruption. Leave the mixing tip in the material when filling the tray to avoid bubbles. For hand-mixed putties, maintain a 1:1 ratio of catalyst to base material. Do not use latex gloves or polyether “contaminated” accessories. If applicable, thoroughly remove any inhibition layer on the surface of custom trays.
- Insert the filled impression tray into the patient’s mouth as vertically as possible to the occlusal plane. Set a timer according to the indicated setting time. Hold the tray in position, do not fully depress. Do not hand the impression tray over to others.
- After the material has completely set, remove the impression tray as vertically as possible to the occlusal plane with a slight rotational movement.
- Rinse, dry and disinfect the impression.
General guidance: Always follow manufacturer instructions and observe working and setting times. To ensure best results, use original mixing tips.
For more tips, consult our product-specific FAQs and troubleshooting guide.
Longer or shorter setting times (than indicated):
- The material could be too warm or too cold. Always bring the impression material to room temperature first: working and setting times are affected by higher or lower temperatures.
- With a hand-mixed A-silicone putty, it is important that the ratio of catalyst to base material is 50/50%; otherwise, setting times may be affected.
No / delayed setting:
- Do not use latex gloves.
- Discard a little material at first (jumbo cartridge) / before each (50 ml cartridge) use.
- Do not mix different types of material. Use dedicated accessories (e.g. application syringes) for each type of material (e.g. polyether vs. A-silicone), do not use accessories “contaminated” with other types of materials
- Retraction agents containing ferric sulfate, epinephrine or aluminium chloride may have a negative effect on the setting. When using such materials, rinse area thoroughly.
No adhesive bonding:
- The adhesive must be dry before the tray is filled with impression material.
- To allow the tray adhesive to work effectively, ensure that there is no inhibition layer on the surface of custom trays. If necessary, remove the smear layer with alcohol or mechanically.
General tips:
- Leave the mixer in the material when dispensing to avoid air bubbles.
- To ensure best results, always use original mixing tips.
- Always follow manufacturer guidances.
Impression material should be stored in a dry place at room temperature. Direct sunlight and extreme temperature changes must be avoided. If storage temperature is clearly below/above room temperature, bring the impression material to room temperature before use. If the impression material is too cold during impression taking, the setting times will be longer than stated, and if you are working in a (too) warm room, the processing and setting times will be much faster than normal.
Before taking an impression, any bleeding must be brought under control. Retraction cords and liquids containing ferric sulfate, epinephrine or aluminium chloride can lead to setting inhibition. Therefore, after using such materials, the contaminated areas must be thoroughly rinsed. Remove retraction cord or paste and any cotton rolls from the patient’s mouth just before inserting the tray into the patient’s mouth.
Before processing Identium® impression material, first bring the impression material to room temperature. Processing and curing times are affected by higher or lower temperatures. Do not use latex gloves or a polyether “contaminated” impression syringes. First remove the inhibition layer (lubricant layer) from an individual tray before taking an impression.
Temperature (warmer or colder than room temperature), latex and a polyether “contaminated” impression syringe, as well as the inhibition layer (lubricating layer) of a temporary restoration material left behind on the preparation, can adversely affect the curing of the Identium® impression material. Furthermore, some retraction agents may have a negative effect on curing; however, we have not received any complaints about this in relation to Kettenbach impression materials for decades.