Silginat
For all your alginate indications
Silginat® is a universal impression material that is perfectly suited for all your alginate indications, but with the advantages of an addition-curing silicone material.
Frequently asked questions
Apply adhesive onto the dry impression tray and allow it to dry for approx. 5 minutes. The adhesive must be dry before the tray is filled with impression material.
To allow the tray adhesive to work effectively, ensure that there is no inhibition layer on the surface of custom trays. If necessary, remove the smear layer with alcohol or mechanically.
Rinse, dry and disinfect the impression. We recommend using disinfectant solutions specially designed for impression materials (2% acidic glutaraldehyde solution). See manufacturer instructions.
After the material has completely set, remove the impression in the same direction as the tooth axis. Tilting the tray too much can cause permanent deformation. Strong rocking movements increase the risk of elastic deformation. It is recommended to place the index fingers into the vestibule and remove the impression tray as vertically as possible to the occlusal plane with a slight rotational movement.
The filled tray should be lowered as vertically as possible to the occlusal plane (material surface and occlusal plane should be parallel to each other), with the pressure being increased slowly. Hold in position. Do not fully depress the tray. Do not hand the impression tray over to others.
With the jumbo cartridge, discard at least the first 3 cm of mixed material. For subsequent mixings, no further material needs to be discarded (unless the plunger is restarted or the cartridge used in another mixing unit).
With the 50 ml cartridge, dispense a small amount of material at each use until equal amounts of both materials are extruded at the same rate.
To avoid air entrapment, the outlet opening of the dynamic or static mixer should always remain immersed in the material. The tray should always be completely filled. If the clinical situation allows, the palatal vault in the maxilla should also be covered with impression material.
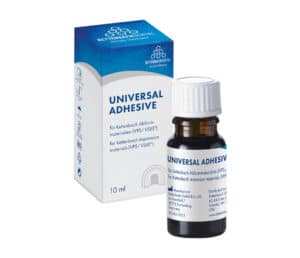
Apply adhesive onto the dry impression tray and allow it to dry for approx. 5 minutes. The adhesive must be dry before the tray is filled with impression material. We recommend using our Universal Adhesive, suitable for all Kettenbach Dental impression materials. The surface of the impression tray must be repeatedly and fully brushed so that the entire surface of the tray is visibly covered. Load the tray within 30 minutes of applying the adhesive.
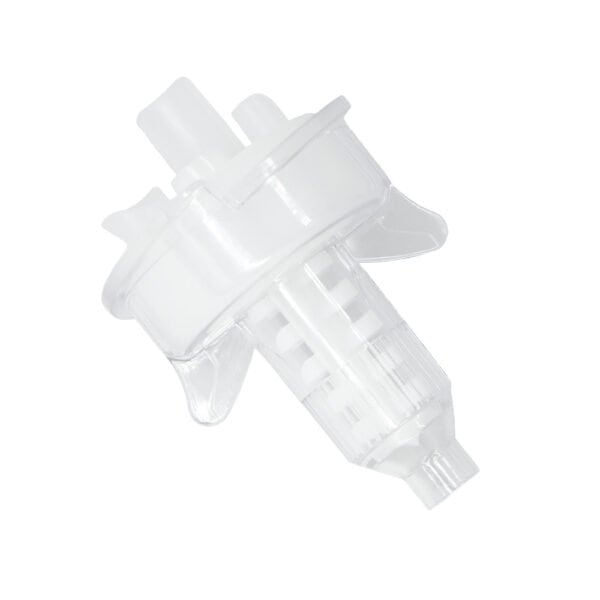
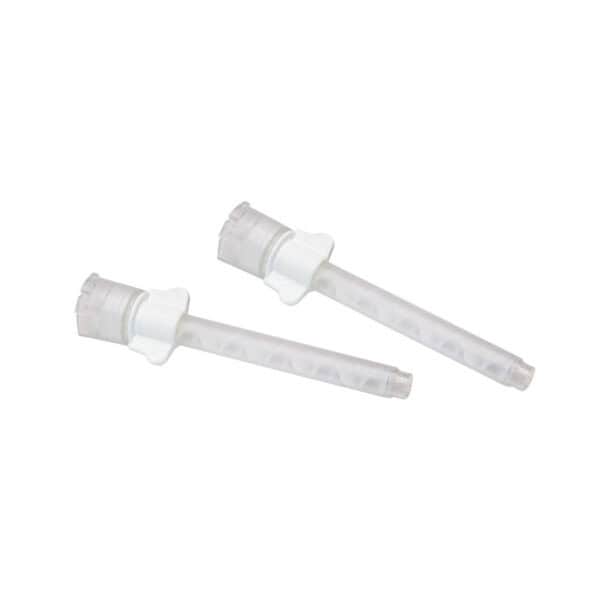
Yes, absolutely. A mixing tips’s diameter and length must be matched to the material. Some mixers available on the market appear to be suitable, but do not mix homogeneously. To ensure best results, always use original Kettenbach Dental mixing tips. Compatible accessories are always displayed on the product sites.
Do not use latex gloves. Latex has a negative effect on the curing of A-silicones and Identium® and can cause poor-quality impressions.
Reasons for delayed / no setting and setting times longer or shorter than indicated include:
- The material could be too warm or too cold. Always bring the impression material to room temperature first: working and setting times are affected by higher or lower temperatures.
- With a hand-mixed A-silicone putty, it is important that the ratio of catalyst to base material is 50/50%; otherwise, setting times may be affected.
- Do not use latex gloves.
- Discard a little material at first (jumbo cartridge) / before each (50 ml cartridge) use.
- Do not mix different types of material. Use dedicated accessories (e.g. application syringes) for each type of material (e.g. polyether vs. A-silicone), do not use accessories “contaminated” with other types of materials
- Retraction agents containing ferric sulfate, epinephrine or aluminium chloride may have a negative effect on the setting. When using such materials, rinse area thoroughly.
- Select appropriate impression tray, ensure proper size and fit.
- Apply Kettenbach Dental Universal Adhesive 5 min before taking the impression.
- Prepare the oral situation: Block out large undercut areas, expand the sulcus and control bleeding. For subgingival preparation margins, use retraction cords. If applicable, clean the prepared stumps.
- Prepare impression material and accessories: Bring material to room temperature. Depending on type of cartridge, discard some material. Mix the material homogeneously and fill the tray completely and continuously without interruption. Leave the mixing tip in the material when filling the tray to avoid bubbles. For hand-mixed putties, maintain a 1:1 ratio of catalyst to base material. Do not use latex gloves or polyether “contaminated” accessories. If applicable, thoroughly remove any inhibition layer on the surface of custom trays.
- Insert the filled impression tray into the patient’s mouth as vertically as possible to the occlusal plane. Set a timer according to the indicated setting time. Hold the tray in position, do not fully depress. Do not hand the impression tray over to others.
- After the material has completely set, remove the impression tray as vertically as possible to the occlusal plane with a slight rotational movement.
- Rinse, dry and disinfect the impression.
General guidance: Always follow manufacturer instructions and observe working and setting times. To ensure best results, use original mixing tips.
For more tips, consult our product-specific FAQs and troubleshooting guide.
Longer or shorter setting times (than indicated):
- The material could be too warm or too cold. Always bring the impression material to room temperature first: working and setting times are affected by higher or lower temperatures.
- With a hand-mixed A-silicone putty, it is important that the ratio of catalyst to base material is 50/50%; otherwise, setting times may be affected.
No / delayed setting:
- Do not use latex gloves.
- Discard a little material at first (jumbo cartridge) / before each (50 ml cartridge) use.
- Do not mix different types of material. Use dedicated accessories (e.g. application syringes) for each type of material (e.g. polyether vs. A-silicone), do not use accessories “contaminated” with other types of materials
- Retraction agents containing ferric sulfate, epinephrine or aluminium chloride may have a negative effect on the setting. When using such materials, rinse area thoroughly.
No adhesive bonding:
- The adhesive must be dry before the tray is filled with impression material.
- To allow the tray adhesive to work effectively, ensure that there is no inhibition layer on the surface of custom trays. If necessary, remove the smear layer with alcohol or mechanically.
General tips:
- Leave the mixer in the material when dispensing to avoid air bubbles.
- To ensure best results, always use original mixing tips.
- Always follow manufacturer guidances.
Impression material should be stored in a dry place at room temperature. Direct sunlight and extreme temperature changes must be avoided. If storage temperature is clearly below/above room temperature, bring the impression material to room temperature before use. If the impression material is too cold during impression taking, the setting times will be longer than stated, and if you are working in a (too) warm room, the processing and setting times will be much faster than normal.